Welcome to our easy guide on how to draw a baby! Whether you’re a beginner or looking to enhance your drawing skills, this tutorial will provide you with step-by-step instructions and easy techniques to create a realistic and adorable baby sketch.
Drawing a baby may seem challenging at first, but with the right guidance and practice, you’ll be able to capture the innocence and charm of these little ones on paper. In this tutorial, we will break down the process into simple and manageable steps, ensuring that you feel confident and accomplished throughout your drawing journey.
From gathering the necessary tools and observing the proportions and features of a baby to adding details, depth, and final touches, we will cover everything you need to know to create a beautiful baby drawing. Our tutorial is designed to provide clear instructions and valuable tips to help you achieve impressive results.
So, whether you’re interested in drawing for personal enjoyment, honing your artistic skills, or even aspiring to become a professional artist, this guide is for you. Let’s embark on this creative adventure together and bring your baby sketches to life!
Key Takeaways:
- Learn step-by-step techniques to draw a realistic and adorable baby.
- Gather the necessary tools and materials for your baby drawing.
- Observe and capture the unique proportions and features of a baby.
- Create depth and shadows in your baby drawing to add a three-dimensional effect.
- Add clothing and accessories to enhance your baby sketch.
Gathering the Necessary Tools and Materials
Before you start drawing, it’s important to gather the right tools and materials. Having the proper supplies will help you create a beautiful and detailed baby sketch. Here are some essential items you’ll need:
| Tools | Materials |
|---|---|
|
|
When selecting your tools and materials, keep these baby sketching tips in mind:
- Choose quality pencils: Opt for pencils with different lead hardness (2H, HB, 2B, 4B, 6B) to achieve various tones and shading effects.
- Use smooth paper: Look for drawing paper that has a smooth surface to allow your pencil to glide easily and capture fine details.
- Experiment with blending: Blending stumps or tortillons can help you achieve smooth transitions and soft textures in your baby sketch.
- Consider references: Collect reference photos of babies that inspire you. These references can guide you in capturing accurate proportions and features.
- Keep an eraser handy: Erasers are essential for correcting mistakes and achieving highlights in your drawing.
Now that you have the necessary tools and materials, you’re ready to learn how to draw a baby step-by-step. Let’s move on to the next section, where we will explore observing the proportions and features of a baby.
Observing the Proportions and Features of a Baby
To draw a realistic baby, it is essential to observe and understand the proportions and unique features of infants. Capturing these details will bring authenticity to your sketches and help you create adorable baby drawings. Here are some key aspects to consider:
Proportions
Infants have distinct body proportions compared to adults. Their heads are relatively larger, their limbs are shorter, and their bodies have a rounded appearance. Paying attention to these proportions will enhance the realism of your baby drawings.
Tip: When drawing a baby, keep in mind that their head is approximately one-third of their total body height. The eyes are usually placed around the center of the head, and the arms and legs are shorter compared to the torso.
Features
Babies have characteristic features that contribute to their adorable appearance. Observing and accurately depicting these features will bring life to your drawings. Some key features to focus on include:
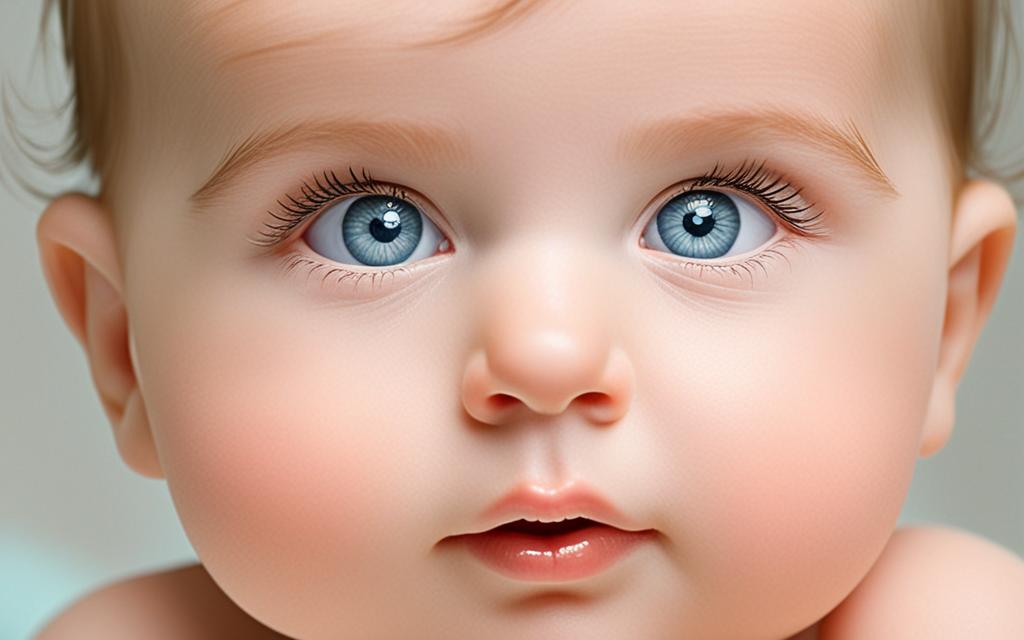
- Facial features: Pay attention to the size and shape of the eyes, the button-like nose, and the rosy cheeks.
- Protruding belly: Babie’s bellies tend to protrude, adding charm to their overall form.
- Folds and creases: Capture the soft folds of their skin, especially around the neck, wrists, and joints.
- Fine hair: Baby’s hair is often soft, thin, and wispy. Represent this delicately in your drawings.
By carefully observing and incorporating these unique proportions and features into your sketches, you will be able to draw realistic and adorable babies. Now, let’s move on to the next section, where we will guide you through sketching the basic shapes of a baby.
Important Proportions and Features of a Baby
| Proportions | Features |
|---|---|
| Head is approximately one-third of total body height | Distinctive facial features |
| Limbs are shorter compared to the torso | Protruding belly |
| Baby’s body has a rounded appearance | Folds and creases in the skin |
| Fine and wispy hair |
Sketching the Basic Shapes of a Baby
Before diving into the intricacies of drawing a baby, it’s essential to establish a solid foundation. This begins with sketching the basic shapes that make up the baby’s form. By breaking down the complex figure into simpler components, you can effectively capture the overall structure and proportions of your baby sketch.
Start by envisioning the baby’s body as a combination of basic shapes such as circles, ovals, and rectangles. These shapes serve as a framework that will guide you in creating accurate proportions.
Here’s a step-by-step breakdown of how to sketch these basic shapes:
- Begin by drawing a large oval shape to represent the head. This will act as the focal point of your baby sketch.
- Next, draw a small circle just below the head to depict the baby’s torso.
- Extend two curved lines downward from the torso circle to form the legs. Remember to keep the lines gently curved to give the impression of a baby’s softness and flexibility.
- Connect the torso to the legs with two curved lines, representing the baby’s hips.
- Add a pair of small circles at the bottom of each leg to serve as the feet.
- Finally, draw two short curved lines extending from the torso to create the baby’s arms.
By following these simple steps, you will establish the basic shapes that make up the baby’s body. This initial sketch will act as the foundation for adding details and refining your drawing in the later stages of the process.
Take a look at the example below to see how the basic shapes come together to form the initial sketch of a baby:
Note: It is important to keep the proportions of the basic shapes in mind as you progress with your drawing. This will ensure that your final baby sketch looks realistic and balanced.
Adding Details to the Baby’s Face and Body
Now that we have established the basic shapes of the baby’s form, it’s time to add intricate details to bring your drawing to life. Paying attention to the delicate features of a baby will help you create a realistic and adorable portrayal.
Let’s start by focusing on the face. Begin with the eyes, drawing them carefully to capture their innocence and brightness. Use curved lines and shading to depict the roundness of the eyes, making them appear soft and expressive.
The next step is to draw the nose, which is often small and button-like in babies. Use gentle strokes to create a subtle curve, paying attention to the placement and proportion within the face. Remember, a well-drawn nose will enhance the overall likeness of your baby sketch.
After the nose, move on to the mouth. Baby lips are typically plump and smooth, so emphasize their fullness in your drawing. Focus on creating a rounded shape and subtly indicating the contours of the upper and lower lip.
Finally, let’s highlight the signature feature of a baby’s face – their chubby cheeks. Use soft, curved lines to accentuate the roundness and dimples, giving your baby sketch an irresistibly cute and cuddly appearance.

Don’t forget to add details to the rest of the baby’s body as well. Pay attention to the tiny fingers and toes, carefully shaping them to reflect their dainty nature. Capture the curve of the limbs and the folds in the baby’s clothing, adding depth and realism to your drawing.
Remember, practice is key when it comes to adding details. Take your time and observe the intricacies of a baby’s face and body as you draw. With each stroke, you will improve your ability to create a lifelike representation.
Creating Depth and Shadows in Your Baby Drawing
In order to give your baby drawing a more three-dimensional and lifelike appearance, it’s important to create depth and shadows. By incorporating these techniques, you can make your baby sketch look more realistic and visually appealing. Here are some easy baby drawing techniques and baby sketching tips to help you achieve this:
1. Understand light and shadow: Study how light falls on different objects and creates shadows. Observe the light source in your reference image or imagine one if you’re drawing from imagination. This will help you determine where the shadows should be placed on your baby drawing.
“Shadows add depth and dimension to your baby drawing, making it appear more three-dimensional and realistic.”
2. Use varying line weights: Experiment with different line weights in your drawing. Thicker lines can be used to indicate areas of shadow, while lighter lines can be used for areas that receive more light. This technique can help create the illusion of depth in your baby sketch.
3. Blend and smudge: Use blending tools like tortillions or your fingertips to soften and blend the shadows in your drawing. This will help create smoother transitions between light and shadow, giving your baby sketch a more realistic look.
4. Consider the direction of light: The direction of light affects how shadows are formed. Pay attention to where the light is coming from and ensure that the shadows in your baby drawing are consistent with this direction.
5. Add highlights: Along with shadows, highlights play an important role in creating depth. Use white pencils or erasers to add highlights to areas that catch the most light, such as the baby’s forehead, cheeks, and nose. This will make your baby sketch look more three-dimensional.
Remember, mastering the art of creating depth and shadows takes practice. Don’t be afraid to experiment and try different techniques to find what works best for you. With time and experience, you’ll be able to bring your baby drawings to life with realistic depth and shadows.
Adding Clothing and Accessories to your Baby Sketch
Now that you have sketched the basic form of your baby, it’s time to dress them up and add some adorable accessories. This step will bring your baby drawing to life and add personality to your artwork. Here are some tips on how to draw different types of baby outfits and enhance your sketch with small details.
Drawing Baby Outfits
When drawing baby clothes, it’s important to keep in mind the proportions and movements of a real baby. Consider the fabric’s texture, wrinkles, and folds, and make sure they align with the baby’s body shape. Here are a few popular types of baby outfits you can draw:
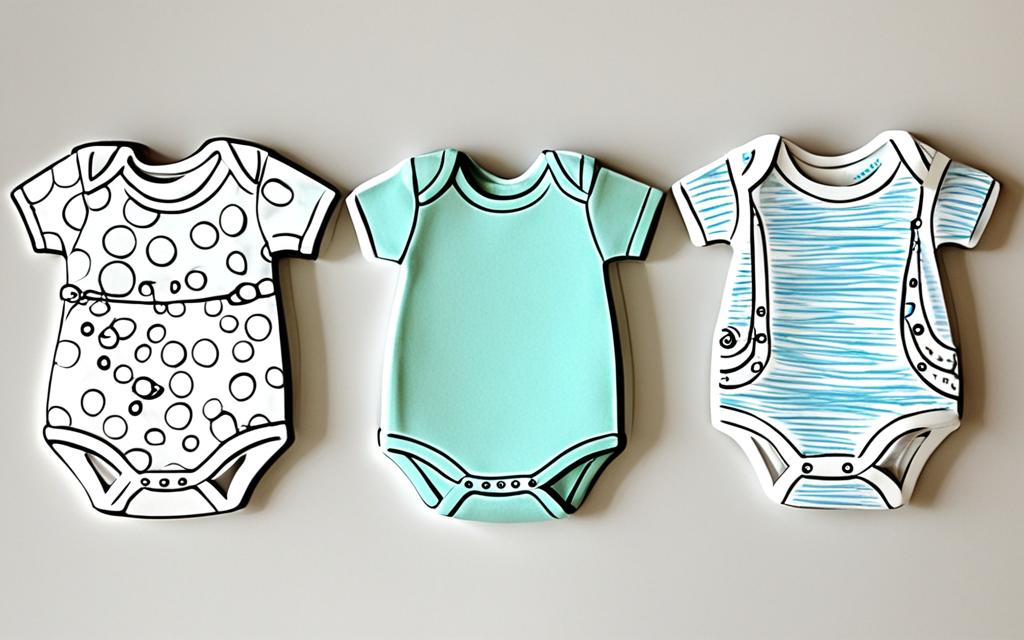
- Baby Onesie: Start by defining the shape of the onesie. Pay attention to the sleeves, collar, and leg openings. Add details like buttons or snaps to give it a more realistic look.
- Baby Dress: Begin by sketching the baby’s body shape and then draw the dress accordingly. Add details like ruffles, bows, or lace to make the dress more feminine and charming.
- Baby Romper: Focus on outlining the romper’s straps, neckline, and leg openings. Consider adding small patterns or textures to bring the romper to life.
Enhancing your Sketch with Small Details
Little details can make a big difference in your baby sketch, adding charm and realism. Here are some ideas on how to enhance your drawing with small details:
- Facial Expressions: Experiment with different facial expressions to convey different emotions. A smiling baby will have slightly raised cheeks and eyes, while a crying baby will have downturned lips and wrinkled brows.
- Accessories: Consider adding accessories like bows, headbands, or hats to enhance the baby’s look. These accessories can also help you add more intricate details and showcase your creativity.
- Texturing: Use shading techniques to create texture and depth in the baby’s clothing. This can be done by adding subtle lines or hatching to create the illusion of fabric folds or wrinkles.
Remember, the key to creating realistic and charming baby sketches is practice and attention to detail. The more you draw, the more you will improve your skills in capturing the essence of a baby and bringing your drawings to life.

| Baby Outfit | Drawing Tips |
|---|---|
| Baby Onesie | Define the shape, pay attention to details like buttons or snaps. |
| Baby Dress | Sketch the body shape first, add feminine details like bows or lace. |
| Baby Romper | Focus on the straps, neckline, and leg openings. Experiment with patterns or textures. |
Refining and Finalizing Your Baby Drawing
Once you have completed the main elements of your baby drawing, it’s time to refine and add those finishing touches that bring your sketch to life. This is where you can make your drawing look more polished and professional, taking it from a rough outline to a beautifully rendered baby portrait.
To refine your baby drawing, here are some tips and techniques you can follow:
- Review and adjust proportions: Take a step back and observe your drawing. Check if the proportions of the baby’s body and features are accurate. Make any necessary adjustments to ensure a realistic representation.
- Refine outlines and contours: Use a finer pencil or pen to clean up the outlines and contours of your drawing. Pay attention to the subtle curves and angles of the baby’s body and facial features.
- Add details and texture: Enhance your drawing by adding small details that bring depth and texture to your baby sketch. For example, you can depict the fine lines on the baby’s fingers, creases on the clothing, or the texture of their hair.
- Create shadows and highlights: Use shading techniques to create shadows and highlights that add dimension to your drawing. Observe the light source and think about how it interacts with the baby’s body and surroundings.
- Blend and smudge: If you’re using pencils or charcoal, consider using blending tools such as tortillons or blending stumps to create smooth transitions between tones and colors. This technique can help achieve a more realistic and polished look.
- Pay attention to small details: Take your time to carefully render the small details that will make your baby drawing stand out. Focus on capturing the expression in the baby’s eyes, the subtle variations in skin tones, and the softness of their features.
- Use reference images: If you’re struggling with certain aspects of your baby drawing, don’t hesitate to use reference images for guidance. Referencing real-life babies can help you understand the unique characteristics and expressions.
Remember, the process of refining and finalizing your baby drawing is an opportunity to add your personal touch and style. Don’t be afraid to experiment and make your drawing truly unique!
Quote:
“Refining a drawing is like adding the final brushstrokes to a masterpiece. It’s the attention to detail that makes a baby sketch come alive.” – Emily Davis, Professional Artist
Now that you have refined your baby drawing, you’re ready to proudly showcase your artwork. Whether you keep it as a cherished memory or share it with others, your polished and professional baby sketch will surely be admired.
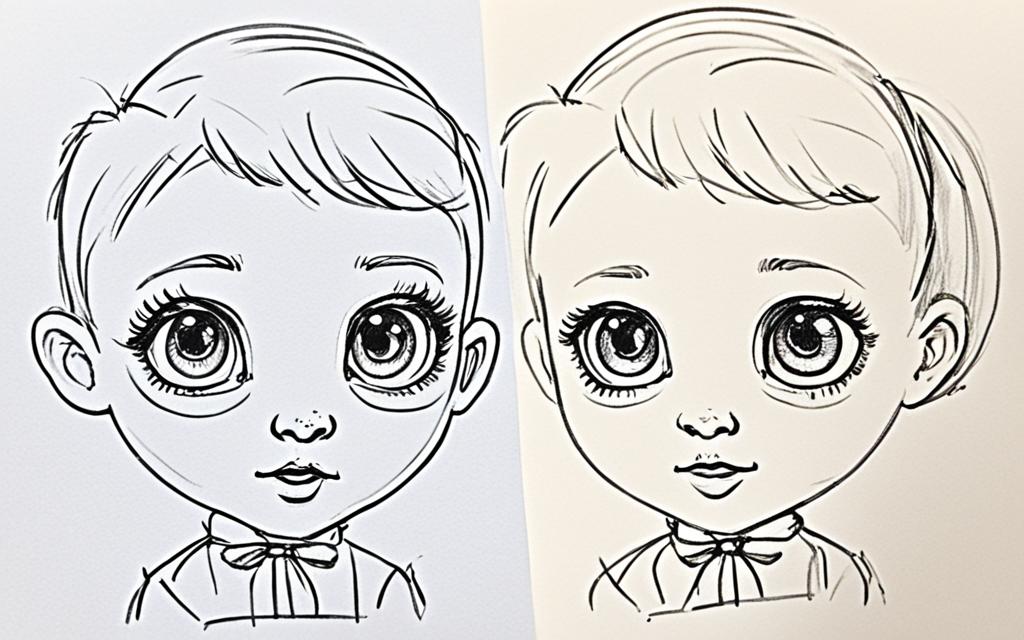
| Before Refining | After Refining |
|---|---|
Exploring Different Styles and Techniques
In this section, we invite you to unleash your creativity by exploring a variety of styles and techniques for drawing babies. By experimenting with different approaches, you can add your own unique touch to your baby sketches and further develop your artistic skills.
Whether you prefer realistic or stylized drawings, there are numerous ways to depict babies. Here are some techniques and styles you can try:
1. Realistic Portraits
If you enjoy capturing the true-to-life essence of babies, realistic portraits are an excellent choice. Pay close attention to the subtle details and features that make each baby unique. Use shading and blending techniques to create depth and bring your portrait to life.
2. Minimalist Sketches
In contrast to the detailed realism of portraits, minimalist sketches focus on simplicity and capturing the essence of a baby with minimal lines and shapes. Emphasize the basic proportions and capture the purity and innocence of infancy.
3. Cartoon and Caricature Drawings
For those looking for a more playful and exaggerated style, cartoon and caricature drawings offer a fun and whimsical way to depict babies. Experiment with different shapes, sizes, and expressions to create charming and expressive characters.
4. Mixed Media Art
Expand your artistic repertoire by incorporating various materials into your baby drawings. Combine traditional drawing techniques with collage, watercolors, or even digital elements to add depth and texture to your artwork.
No matter which style or technique you choose, remember that practice is key. Take the time to explore different approaches, experiment with new tools and materials, and most importantly, have fun with your drawings.
Now, let’s take a moment to appreciate the cuteness of a baby in action:
Captured in this adorable image is a baby giggling with joy. Use this as inspiration to infuse your own drawings with that same playful energy and happiness.
Style Comparison
| Styles | Description |
|---|---|
| Realistic Portraits | Highly detailed and lifelike depictions of babies, focusing on capturing their unique features. |
| Minimalist Sketches | Simplified drawings that capture the essence of a baby using minimal lines and basic shapes. |
| Cartoon and Caricature Drawings | Playful and exaggerated depictions of babies, often incorporating exaggerated features and expressions. |
| Mixed Media Art | Artwork that combines traditional drawing techniques with other materials or digital elements. |
By exploring these different styles and techniques, you can find your own artistic voice and create baby drawings that are uniquely yours.
Conclusion
Congratulations on completing our easy guide on how to draw a baby step-by-step. We hope this tutorial has been helpful in nurturing your artistic skills and inspiring you to create cute and realistic baby sketches. Drawing babies can be a joyful and rewarding experience, allowing you to capture their innocence and beauty on paper.
Remember, practice is key to improving your drawing abilities. Keep exploring different styles and techniques to develop your own unique approach to baby sketching. Don’t be afraid to experiment and let your creativity shine through. The more you draw, the more confident and skilled you will become in creating stunning baby illustrations.
Whether you are an aspiring artist or simply enjoy the art of drawing, we encourage you to continue exploring and expanding your artistic range. Take inspiration from the world around you, observe real-life babies, and experiment with different poses and expressions. With dedication and perseverance, you can create adorable and heartwarming baby drawings that will captivate viewers.
FAQ
How do I start drawing a baby?
To start drawing a baby, gather the necessary tools and materials, observe the proportions and features of a baby, sketch the basic shapes of a baby, add details to the baby’s face and body, create depth and shadows in your drawing, add clothing and accessories, refine and finalize your drawing, and explore different styles and techniques.
What tools and materials do I need to draw a baby?
To draw a baby, you will need pencils (such as graphite or colored pencils), erasers, paper, a drawing pad or sketchbook, and a reference image or model of a baby. You may also consider using a blending stump or tortillon for shading.
How can I make my baby drawing look realistic?
To make your baby drawing look realistic, it’s important to observe the proportions and features of a baby carefully. Pay attention to the size and shape of the head, eyes, nose, mouth, and other facial features. Additionally, study the body proportions and the specific details of a baby’s skin and expressions.
What are some easy techniques to draw a baby?
Some easy techniques to draw a baby include breaking down the baby’s form into basic shapes, starting with light and loose sketches, gradually adding details, and using shading and hatching to create depth. It’s also helpful to practice drawing babies from different angles and positions.
How can I add depth and shadows to my baby drawing?
To add depth and shadows to your baby drawing, start by identifying the primary light source in your composition. Use shading techniques, such as cross-hatching or blending, to create shadows and highlights. Pay attention to the direction of light and the shadow patterns on the baby’s face and body.
Are there any tips for adding clothing and accessories to my baby sketch?
When adding clothing and accessories to your baby sketch, consider the fabric textures, folds, and wrinkles. Pay attention to the fit and style of the clothing and the positioning of accessories, such as bows, hats, or toys. Adding small details like buttons or patterns can enhance the overall realism of your drawing.
How can I make my baby drawing look more polished and professional?
To make your baby drawing look more polished and professional, take the time to refine the details and proportions. Use a range of values for shading to create depth and form. Experiment with different drawing techniques and tools to add texture and realism to your artwork.
Can I explore different styles and techniques in baby drawing?
Absolutely! Exploring different styles and techniques in baby drawing can help you develop your unique artistic voice. You can try various approaches, such as realistic, cartoonish, or stylized styles. Experiment with different materials, such as watercolors or markers, to add different effects to your baby sketches.


